
Cultured Butter & Buttermilk From One Churn: A Stand Mixer Method That Works
With over a thousand pounds of butter behind me, I’ve developed a process that’s smoother, cleaner, and yields rich cultured butter—without the kneading or fuss.

When I was running my meal programs out of a commissary kitchen in Bellingham, WA, I made a bet with myself to go “all local”—which meant making as much as possible from scratch, down to the butter used in every menu and sold through the local butcher shop. That commitment led me to produce well over a thousand pounds of butter by hand, and along the way, I learned a lot. This method is the result: designed for the home cook, with big flavor and minimal fuss.
Yes, this recipe does require a stand mixer. You can use electric beaters in a pinch, but it’ll take longer, be more labor-intensive, and may not yield quite the same results. If you don’t already own a stand mixer, they’re surprisingly easy to find secondhand—Facebook Marketplace and similar sites often have KitchenAids for a fraction of the cost. They’re built to last, and with occasional servicing from a small appliance repair shop, they can serve you for decades and handle countless kitchen tasks beyond butter.
You’ll also need a few specific tools—like a fine mesh skimmer and two sizes of mesh colanders—but these are workhorses in my kitchen, especially for things like stocks, broths, and preserves. They’re affordable, endlessly useful, far from single-use, and easily found in stores or online.
By adding cultured buttermilk during the whipping stage, you not only get cultured buttermilk as a byproduct—you also create a butter that lightly cultures over time, developing depth rather than turning sour. I’ve also reworked the rinsing process to be fast, clean, and low-effort—no butter paddles (which are truly a single-use tool), and no endless kneading. If you’ve ever wanted to make your own butter but felt intimidated by the mess or the mixed results, I encourage you to give this a try. It just might change the way you think about cream.
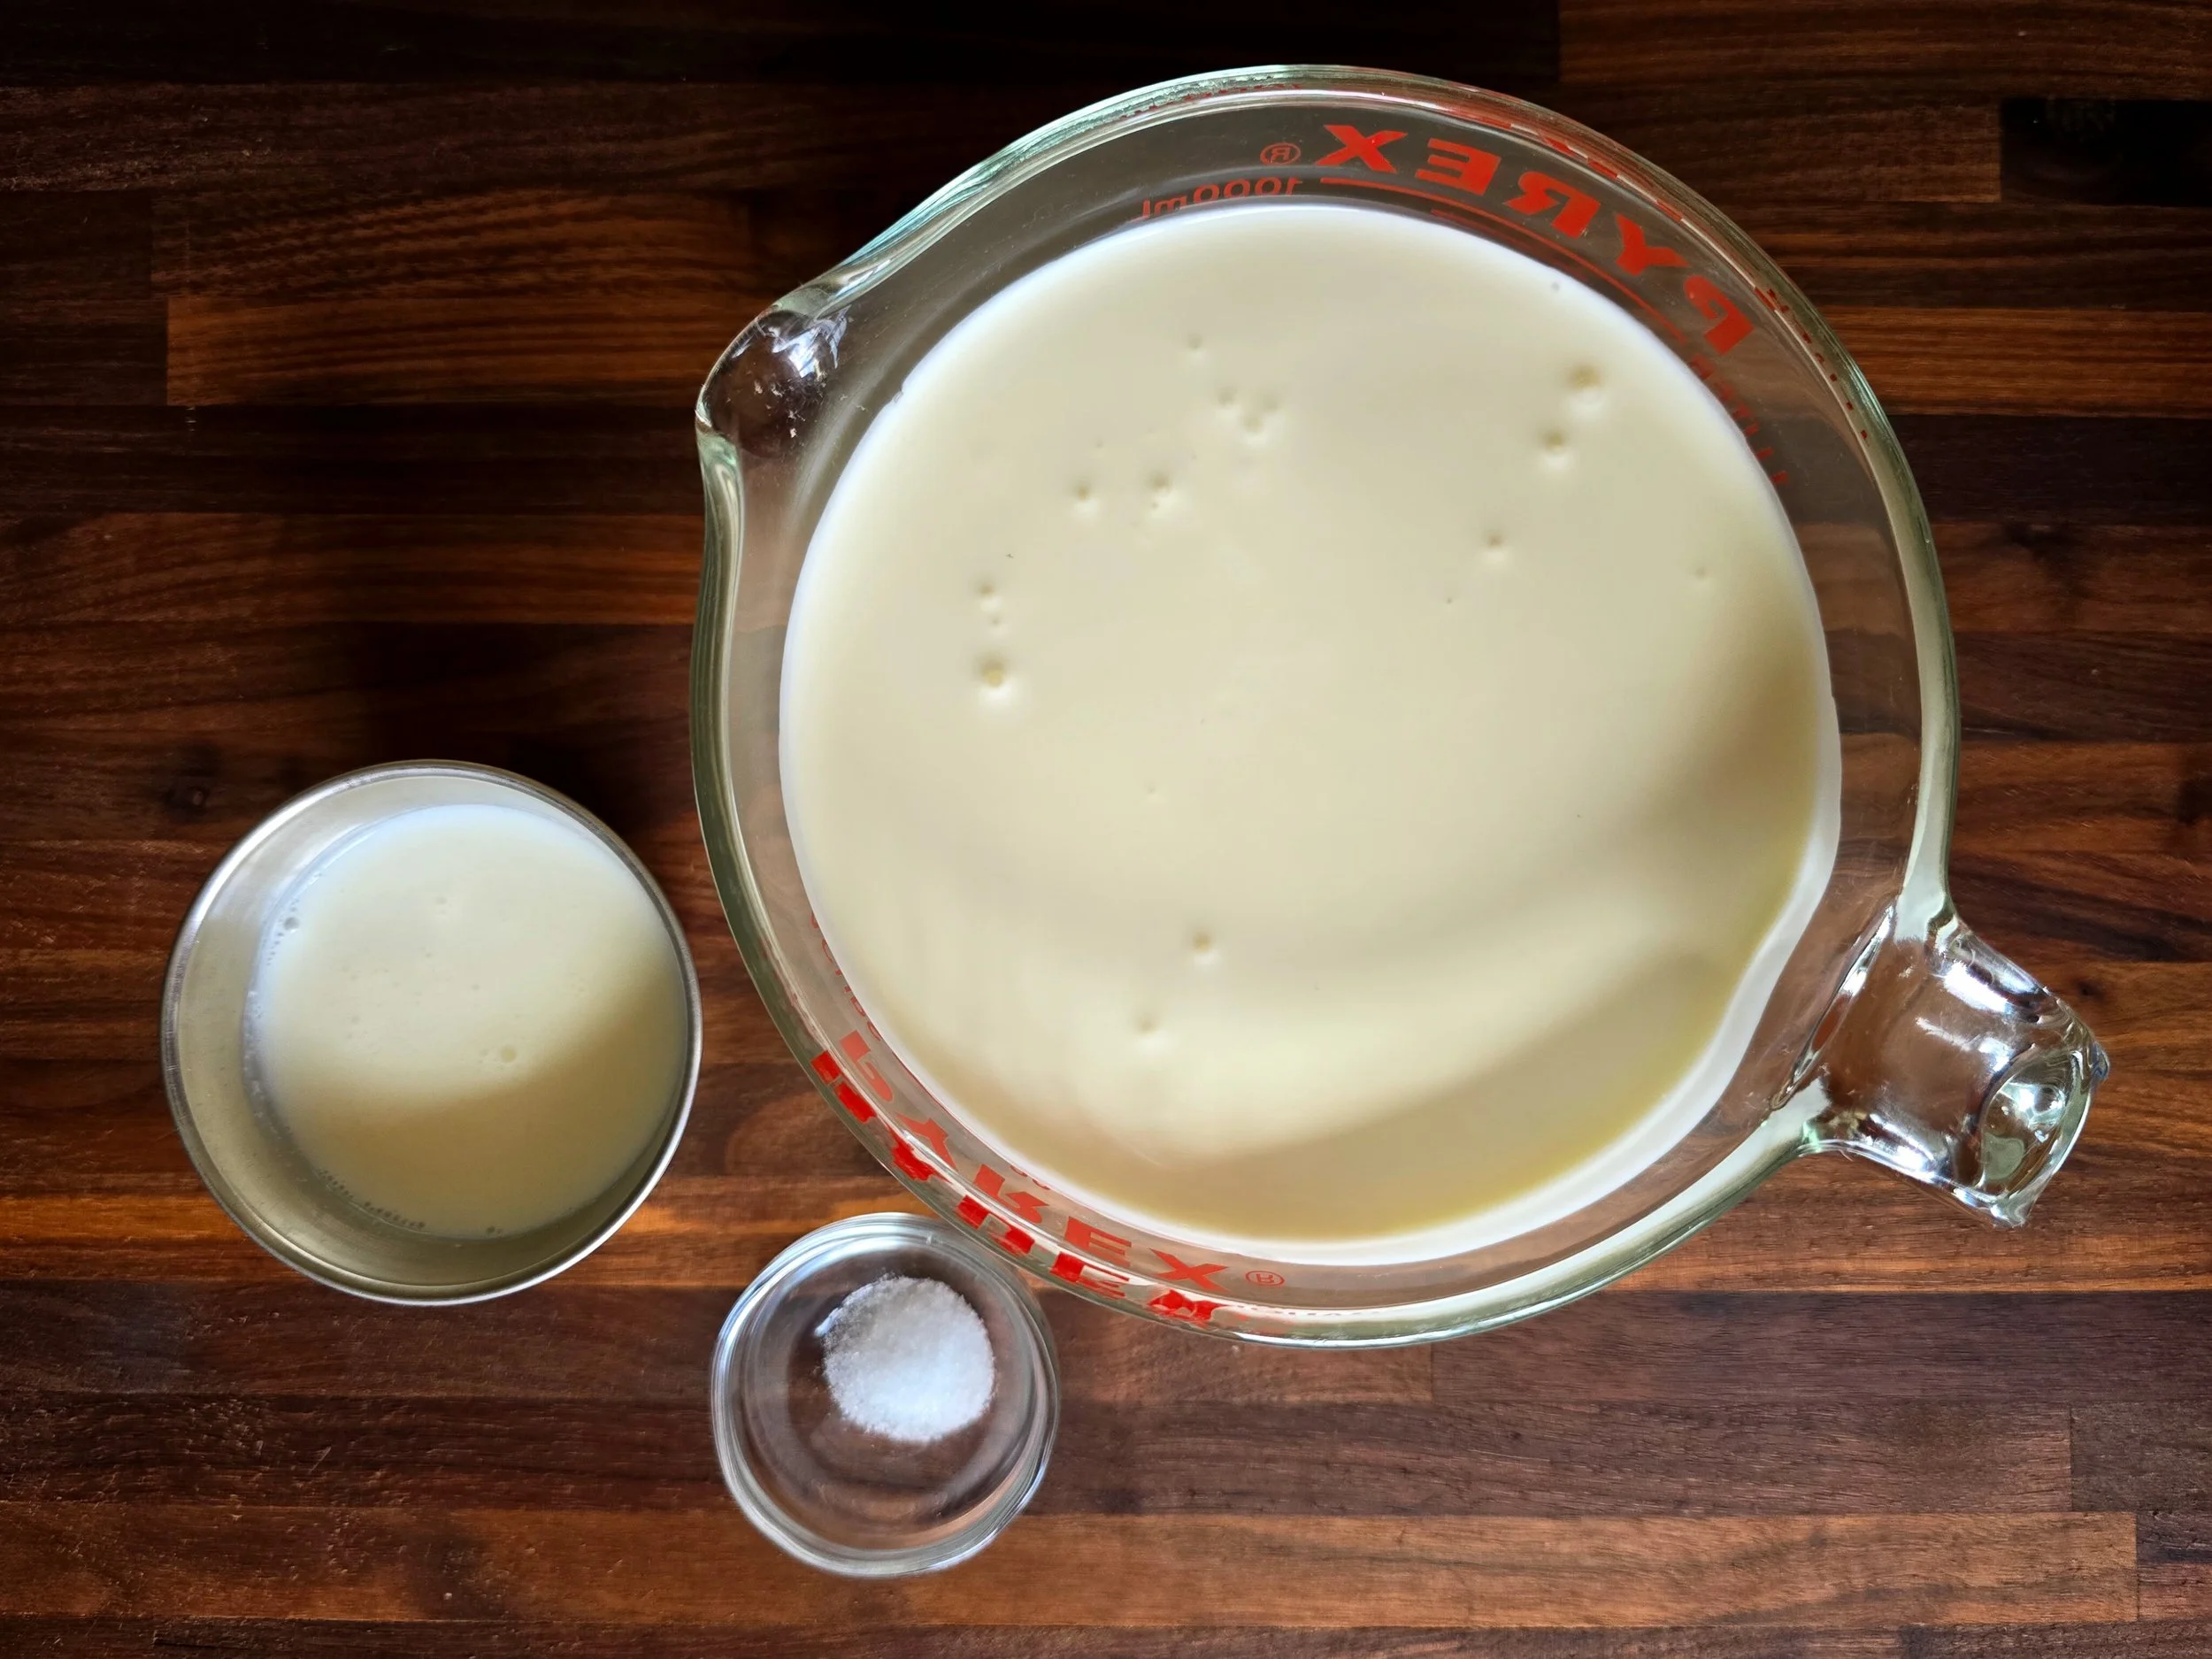
Cultured buttermilk, cream, and a bit of sea salt.
Cultured Butter
(Plus Bonus Buttermilk)
Rich, lightly cultured butter made with a stand mixer and hand-formed for maximum flavor and minimal mess.
Yields: 12–16 oz butter + 1½–2 cups cultured buttermilk
Active Time: 30 minutes
Ingredients
1 quart, or 4 cups, or 32 oz heavy cream (not ultra-pasteurized, if possible)
1/2 cup or 4 oz cultured buttermilk
Sea salt, to taste
Ice, for rinsing
Equipment
Stand mixer, I am using a 6qt KitchenAid with whisk and paddle attachments
1 large bowl
1 large fine mesh colander
1 medium bowl
1 small mesh colander
1 fine mesh skimmer
1 rubber or silicone spatula
Waxed paper, for wrapping (optional)
Butcher’s twine, to tie the wrap (optional)
Method
1. Chill your tools
Place the bowl of your mixer and both the whisk and paddle attachments in the freezer for about 30 minutes before starting—especially if your kitchen is warm. Funny enough, spring and summer are the best times to make butter (when cows are on pasture), but the worst time if your kitchen runs hot. Cold tools help keep the cream cool, speeding up the whipping process.
2. Whip the cream
Fit your mixer with the chilled bowl and whisk attachment. Pour in 1 quart of cream. If using a 4-quart mixer, this recipe fills the bowl to capacity. With a 6-quart mixer or larger, feel free to double. Start on low speed to avoid splashing. As the cream thickens, gradually increase the speed.

If you have a splash guard for your mixer, I recommend using it for this recipe—especially if you're working near the top of your mixer's capacity.
3. Add the buttermilk
When the cream is fully whipped and just beginning to break (when the fat starts separating from the milk), slowly pour in ½ cup cultured buttermilk and continue whipping. This is a good time to scrape down the bowl and make sure no whipped cream remains on the sides.
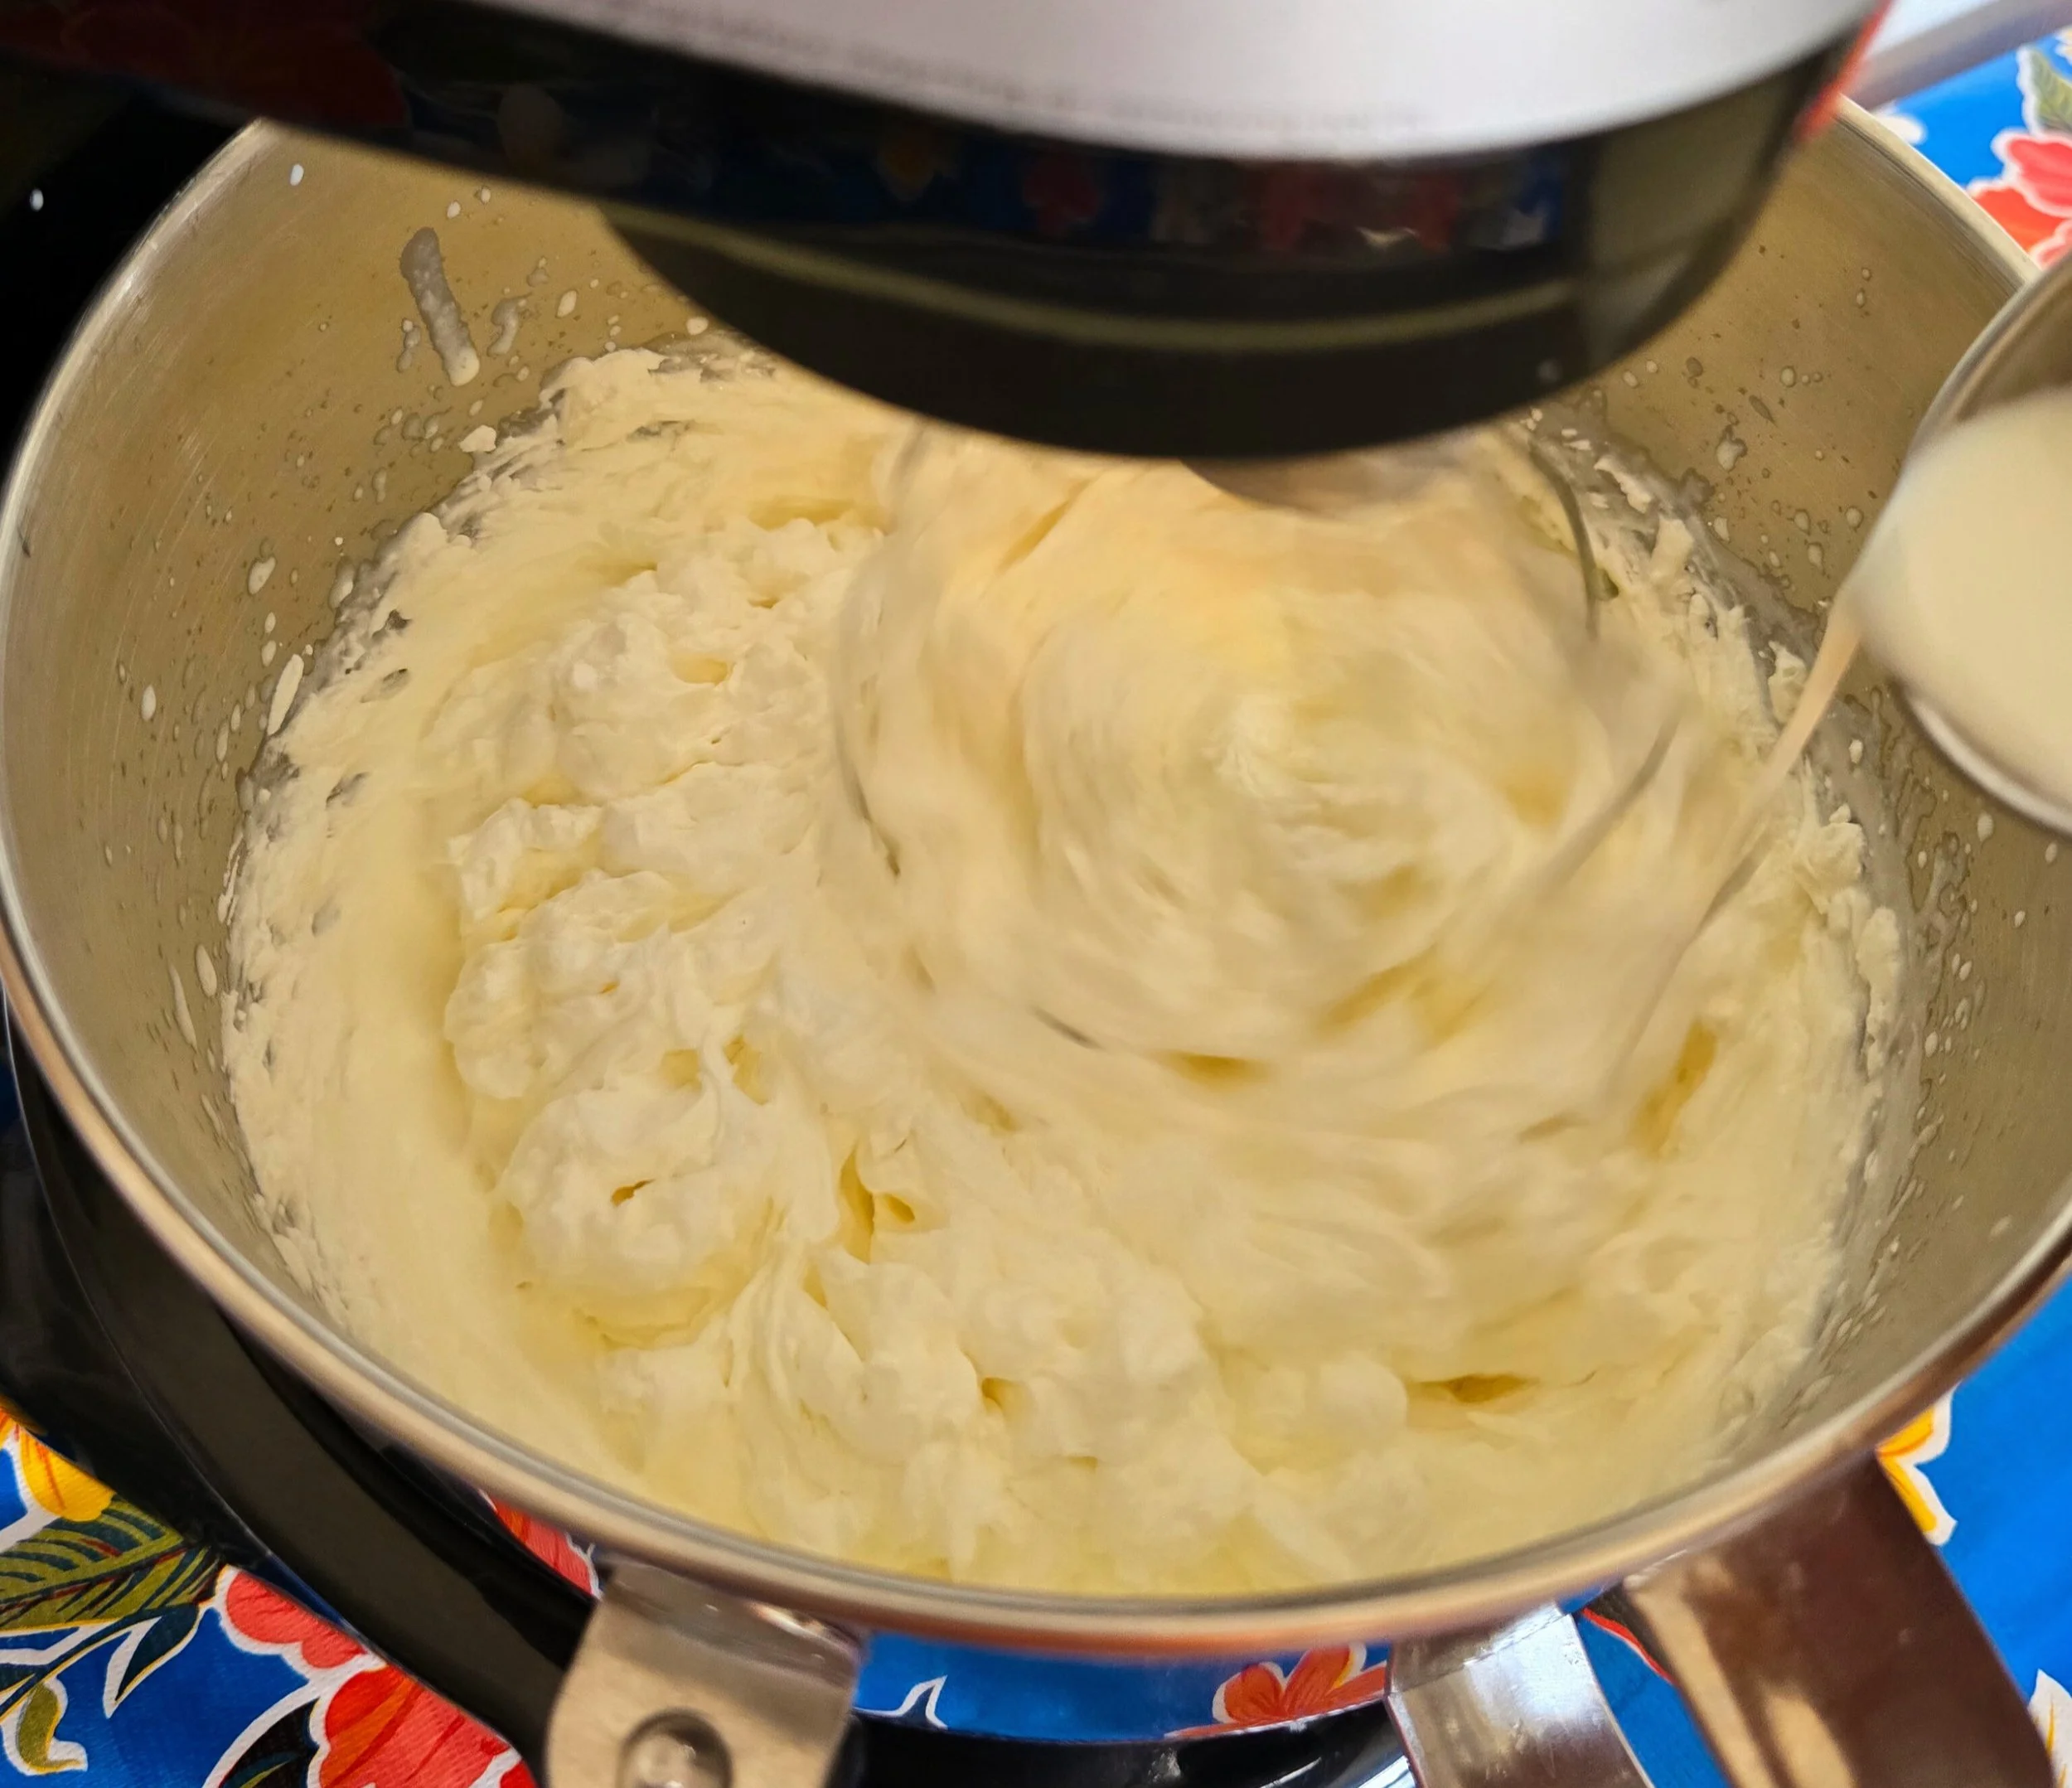
Incorporating the cultured buttermilk.
4. Capture the buttermilk
Once the butter has clearly separated and resembles a mealy, sandy consistency (not large chunks), stop the mixer. Pour the contents into the small fine mesh colander set over the medium bowl to catch the buttermilk. Shake the colander gently to release as much liquid as possible.

5. Culture the buttermilk
Transfer the strained buttermilk to a clean, sanitized quart jar. Label with the date, time, and "cultured buttermilk." Let it sit at room temp for 12–48 hours, depending on how warm your kitchen is. It’s ready when slightly thickened and gelatinous. Refrigerate for up to 2 weeks and use like store-bought cultured buttermilk.

6. Rinse the butter
Fill your large bowl halfway with ice, then top off with water, leaving 1 inch at the top. Place the large mesh colander inside to catch the butter granules and keep them separated from the ice. Stir the butter gently in the ice bath using your fine mesh skimmer, then let it sit and rinse for 5 minutes. If you prefer a less cultured taste, repeat the rinsing process with fresh water and ice 1 to 3 more times, keeping the butter granules in the colander and the ice water below.


Rinsing the butter while it’s still in this mealy stage is where so much of the magic happens. It’s much easier to remove the milk solids before they clump into large, hard-to-clean chunks. And because the milk solids are cultured, any trace amounts that remain won’t sour or go rancid—they’ll continue to develop a clean, cultured flavor over time.
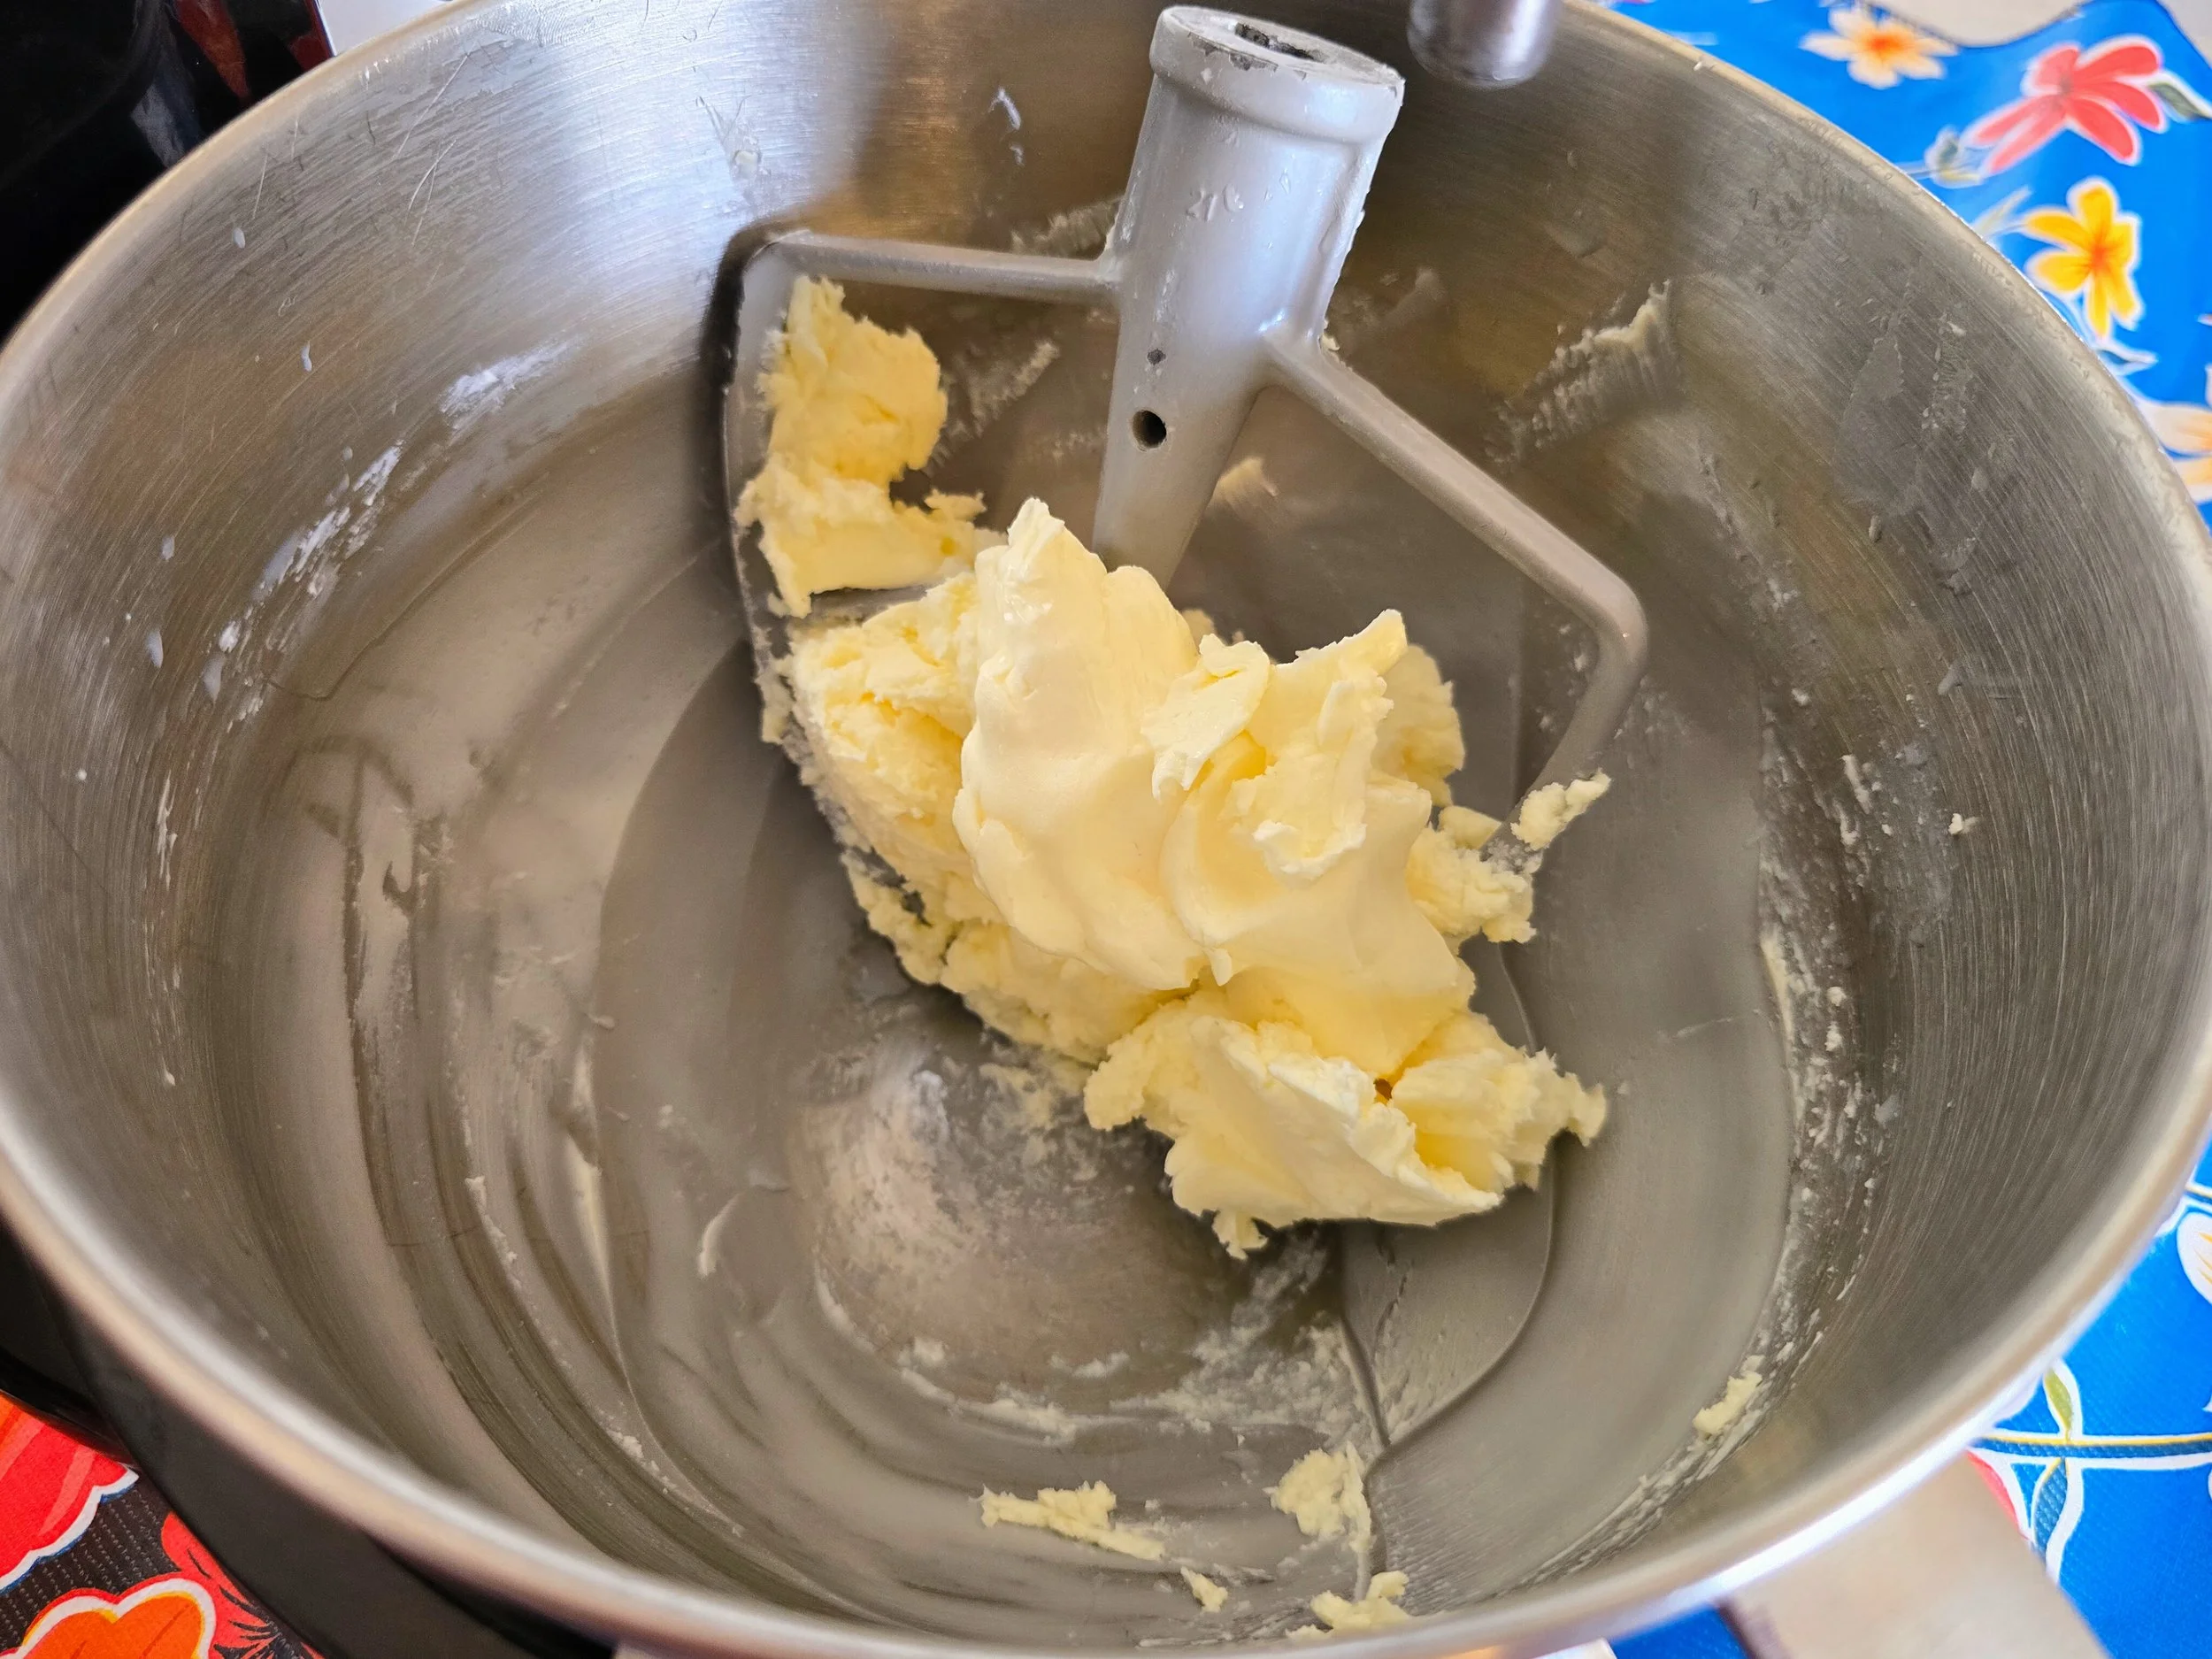
7. Paddle the butter
Wash and dry the mixer bowl, rinse with cold water, and switch to the paddle attachment. Use the skimmer to transfer the rinsed butter granules into the mixer, being sure to drain off any excess water before adding them to the bowl. Paddle on low for 1–2 minutes, draining any water that separates.
If you want to salt your butter, add it now. I use about ½ teaspoon per batch, but you can adjust to taste. Continue paddling for another minute to help draw out more moisture—do not overmix!

The water will press out and end up at the bottom, easy to drain off, as long as everything is nice and chilled during this process.
8. Shape the butter
On a chilled stone slab or recently conditioned wood board (freshly oiled and rested), transfer the butter from the mixer. Scrape down the bowl and paddle, give the butter a gentle squeeze over the bowl to release any last water, and place it on the board.
Use your hands or a spatula to pat and smack the butter into a rectangle or desired shape. You can weigh out 4 oz sticks or shape one large block. Work quickly to prevent melting—if it gets too soft, chill for 10–30 minutes before continuing. This shaping process helps remove residual moisture and prevents sticking.


9. Wrap and store
To wrap one block, use half a sheet of waxed parchment and fold like a gift. Tie with twine if desired. Store in the wrap. If not using within a week—or if freezing—place the wrapped butter in a zip lock bag or airtight container to protect from off smells.

10. Storage notes
This homemade butter keeps for at least 1 month in the fridge (longer with careful storage), and 6+ months in the freezer. At room temperature, culturing will continue and may accelerate flavor development.
