
Recipe: Buttermilk Bread
Super soft, wonderfully simple, ultra satisfying buttermilk bread
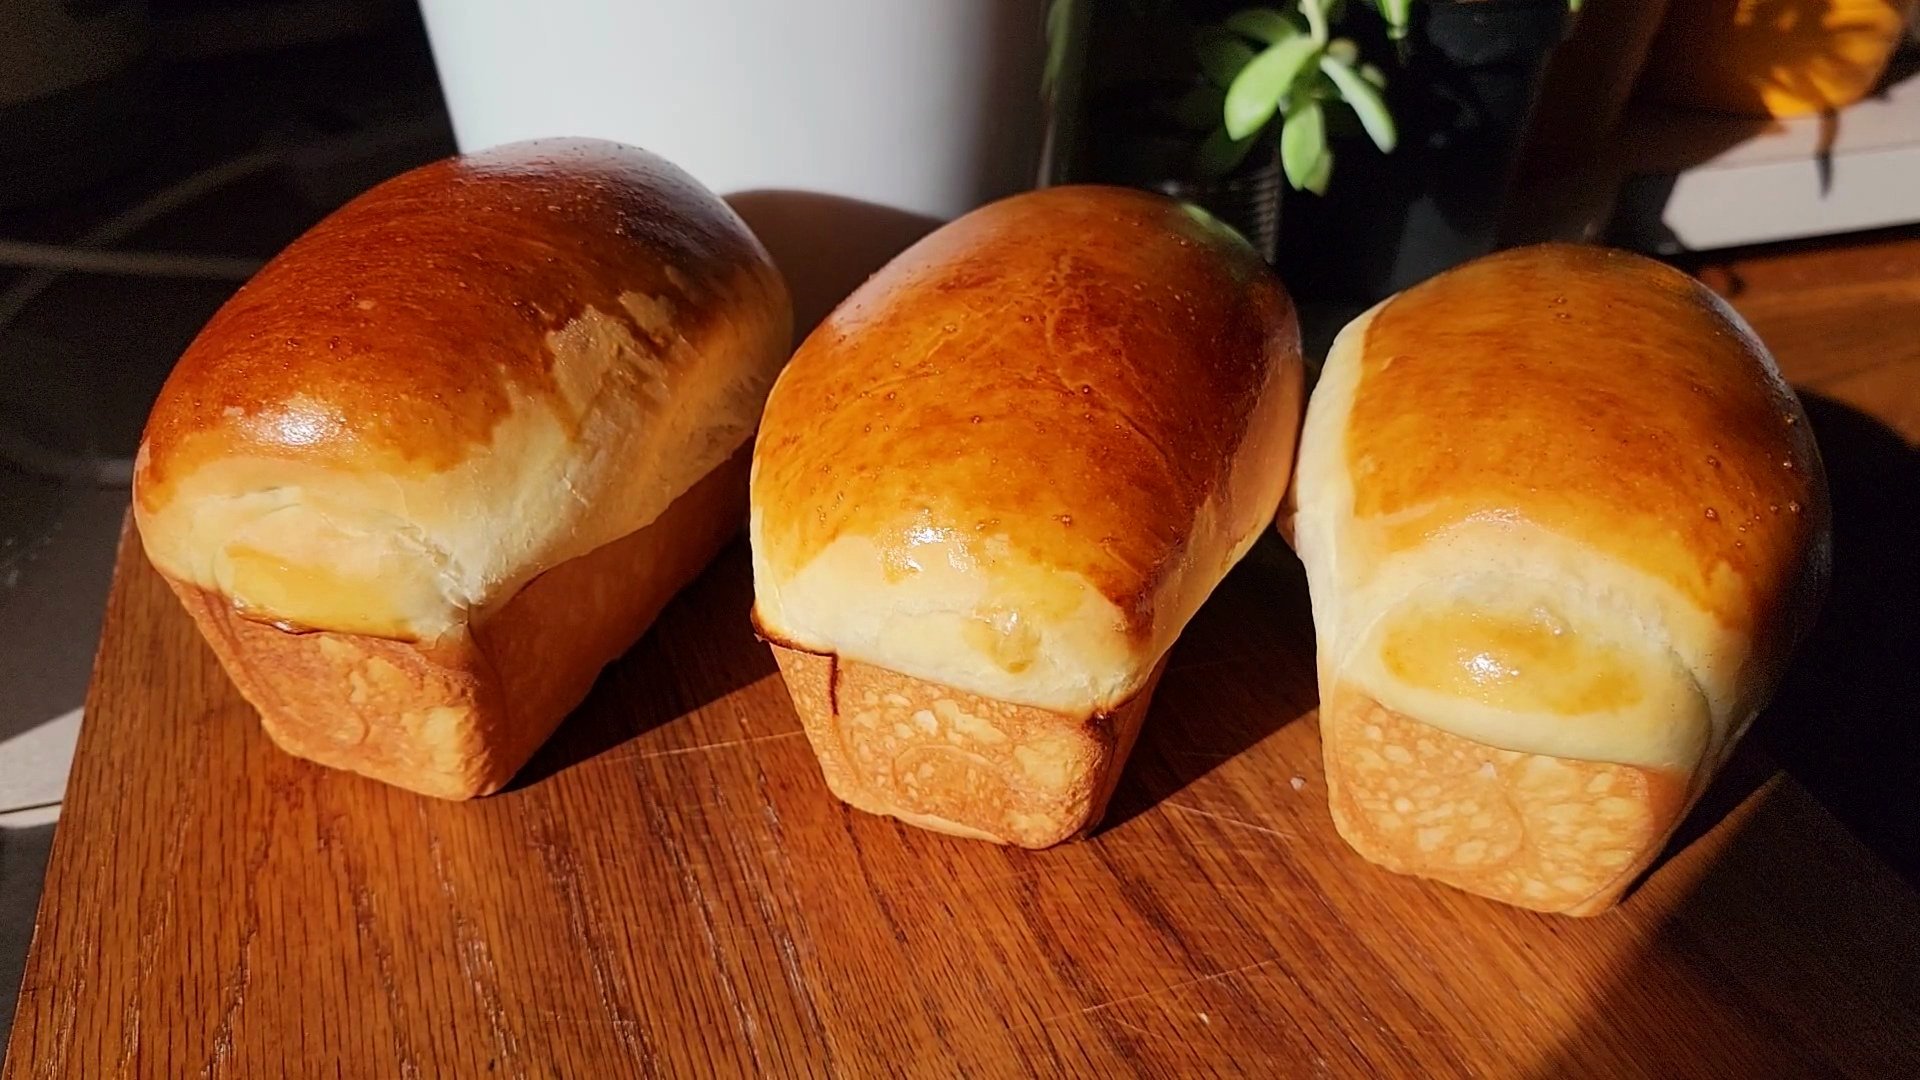
Three mini loaves cooling by the window
I have always loved super soft white bread, that springs back when you squish it. However, I don’t always love how long breads like a classic brioche can take. I set out on a mission over the past few weeks writing and testing this recipe to not only be made with local organic ingredients, but to be extremely versatile, and easy to produce even for novice bakers. It comes together in just a few hours, freezes really well for batching, and it can be used for sweet or savory applications. I will continually add new recipes utilizing this dough.
I hope you love it as much as we do here at home.

Ingredients:
4 cups AP flour, FaIrhaven Mills Organic AP
3 tablespoons organic sugar
1.5 teaspoons salt, whole mineral True Salt
1 tablespoon or 10g yeast
1 cup warm water
1/2 cup organic cultured buttermilk, Grace Harbor
2oz/half a stick melted butter
1 whole egg
1 yolk

Step 8
Combine 1 cup warm water, yeast, and one pinch of sugar. Stir to dissolve and set aside to bloom.
In the bowl of a stand mixer, combine flour, sugar, and salt. Whisk to sift.
Melt 2oz of butter in the microwave or in a small sauce pan, set aside.
In a small mixing bowl, combine 1 whole egg, 1 yolk, and 1/2 cup buttermilk. Whip well with a fork.
Attach bowl with flour mixture to your stand mixer, fit with dough hook, and start on lowest speed. While mixer is on low, add yeast water that should be nice and foamy at this point, buttermilk egg mixture, and 2oz melted butter. Mix until just combined, scraping a few times to make sure there is no flour on the bottom of the bowl, once it is just combined, shut off the mixer and let the dough rest for 10 minutes.
After resting for 10 minutes, mix dough on low for an additional 6-8 minutes. After mixing, cover the bowl and let rise in a warm spot until doubled, about an hour.
After dough has doubled in size, punch down, and turn out onto a floured surface. Weigh dough on a scale with gram units, total weight should be around 1100g.
For full size loaves, divide into two 550g balls. For mini loaves, divide into three 365g balls. Roll one ball at a time on floured surface to about 1/4 inch thick. Tri-fold like a letter, and then roll up like a like a log. Seal the seam at the bottom, place seam side down into pans. Preheat oven to 350F. (See photo)
Proof loaves in their pans until they have at least doubled in size, depending on the temperature in your kitchen this could take 30 minutes to 1 hour or more. I proof my loaves in an overturned mixing tub with a dish of hot water. You can use your oven to proof, leave it off and add a pan of boiling water on the bottom rack and proof bread on the rack above. Being sure to have enough space above loaves to rise without touching the ceiling of the oven. Heat oven to 350F after proofing. Just before baking, I like to egg wash with a ratio of one yolk to 1 teaspoon water brushed over the top, this is optional. Be very careful to not puncture dough while brushing on the egg wash. Bake mini loaves at 355F for about 20-25 minutes, full sized loaves bake at 350F for about 30-40 minutes, rotating once or twice during the bake. To make sure they are fully baked and not overcooked, I like to take their temperature with a calibrated probe thermometer instead of relying only on time. Probe bread through the side of the loaf out of sight into the middle, when it registers 190F degrees, the bread is done. Do not probe until you suspect they may be finished, temping too early could pop the bread. Allow the loaves to cool fully before slicing.

Proofing size difference, just after forming and just before going into the oven. I used hot water in the vacant compartments of my loaf pan, with an overturned mixing bin on top to create a proofing environment in my chilly kitchen.